Here's how to change your username in Windows 11, assuming you're using a local account and not an online Microsoft account.
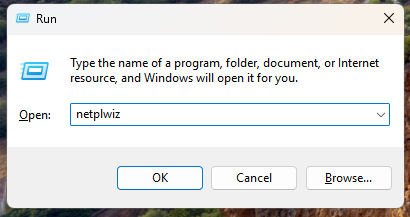
Step 1. Use Win + R to open a run prompt and type netplwiz to launch the User Accounts configuration panel.
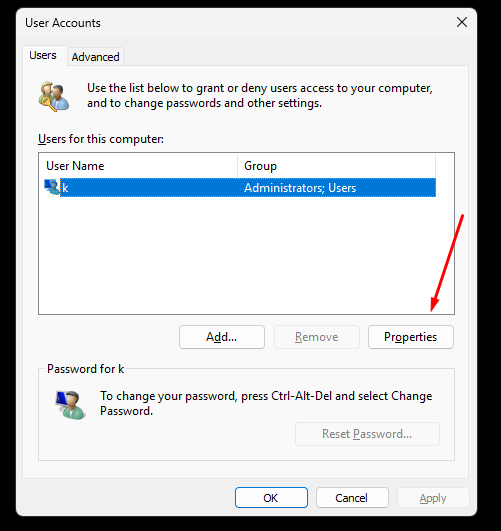
Step 2. Highlight the username you wish to change and click on Properties.
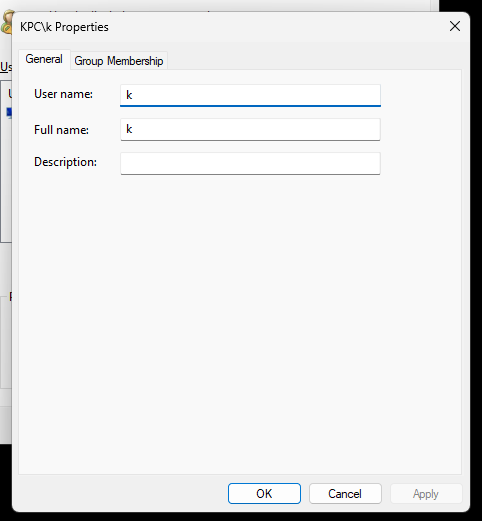
Step 3. Type the new account name and click OK to save the changes.
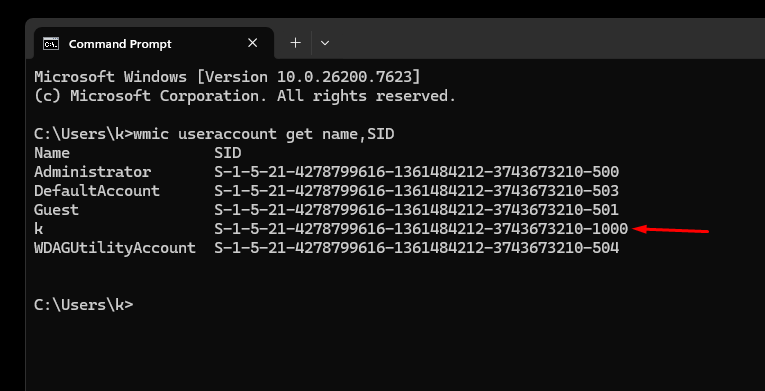
Step 4. Next we need to change the user's default folder to reflect the new username. Open a command prompt and type the following command to get the SID for the account whose username you're changing:
wmic useraccount get name,SID
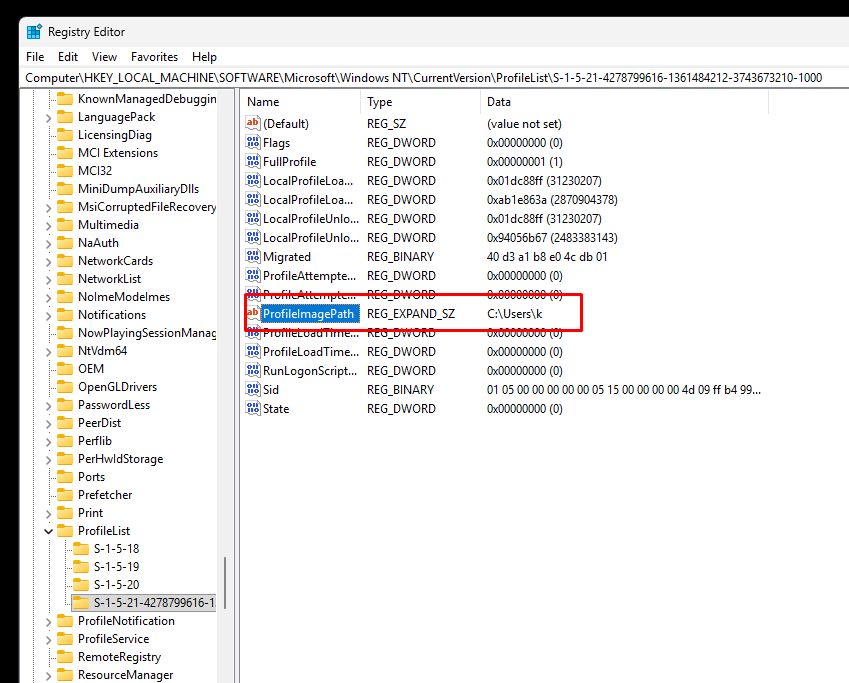
Step 5. Open regedit from the run prompt or Start menu and open this path:
HKEY_LOCAL_MACHINE\SOFTWARE\Microsoft\Windows NT\CurrentVersion\ProfileList\<YOUR SID>
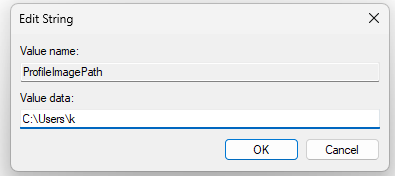
Step 6. Edit the ProfileImagePath with the new username:
Step 7. Now we can rename the old C:\Users\<username> folder, but the computer will need to be restarted before it lets us do that. Reboot, then rename the old folder to the correct name.
C:\Users\OldUsername -> C:\Users\NewUsername
Step 8. Reboot once more for all changes to take effect and for Windows to start using the newly renamed folder correctly.